Remove lampshade
Remove the lampshade from the lamp.
Place
on side
Place the lampshade on its side on the large sheet of paper, lining
up its seam with the left edge of the paper.
If your shade is much wider at the bottom
than the top, place the shade near the bottom of the paper’s
edge.
Trace
edges
Trace the bottom and top edge of the shade with your pencil, slowly rolling the shade as you go, until you get back to the seam.
Draw
line
Extend the two lines by an inch and draw a straight line between them.
Cut
out shape
Cut out the shape youve drawn.
If you want to crease your fabric under for
finished edges, cut about a half inch outside the lines.
Cut
out fabric
Pin this paper pattern to your new fabric, then carefully cut out the new lampshade cover from the fabric, tracing around the paper.
Test
adhesive
On a leftover scrap of fabric, test your spray adhesive to make sure it wont cause discoloration or show through on the other side.
Spray
adhesive
Spray the inside of your new fabric with the adhesive.
You can try brushing on diluted fabric or
craft glue instead of using spray adhesive.
Place
lampshade
Carefully place the lampshade onto the now-sticky fabric, lining up the seam with a short edge.
Apply
cover
Slowly roll the shade over the fabric a little bit at a time, smoothing the fabric out toward the edges as you go, until your new cover is in place.
Trim
fabric
Trim away any bits of excess fabric that extend above or below the shade.
If you cut your fabric generously, use fabric
glue to tuck the edges and seam under.
Allow
seam to overlap
Allow the seam to overlap itself by at least a quarter inch in case the fabric shrinks a little as it dries.
Trim
edges
Trim the bottom and top edge with a ribbon, cord, or fringe, using fabric glue or a hot glue gun to secure it a bit at a time.
Pin trim
Pin the trim in place as you go so it dries in a straight, neat line.
Return
shade
When the adhesive and glue have dried, return your shade to your lamp, and let your light shine.
 Remove lampshade
 Place
on side
Place
on side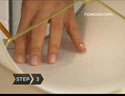 Trace
edges
Trace
edges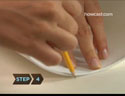 Draw
line
Draw
line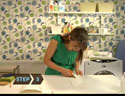 Cut
out shape
Cut
out shape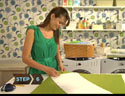 Cut
out fabric
Cut
out fabric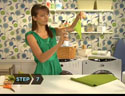 Test
adhesive
Test
adhesive Spray
adhesive
Spray
adhesive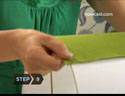 Place
lampshade
Place
lampshade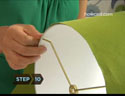 Apply
cover
Apply
cover Trim
fabric
Trim
fabric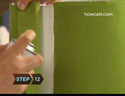 Allow
seam to overlap
Allow
seam to overlap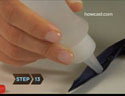 Trim
edges
Trim
edges Pin trim
 Return
shade
Return
shade