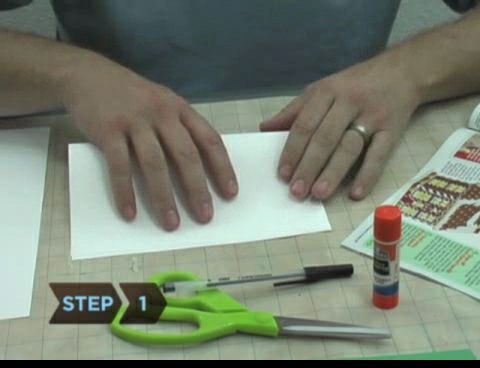
Fold
the cardstock
Fold one sheet of the cardstock in half, making a crease down the middle.
The size of the cardstock is going to be the
size of your card, so you can trim both pieces if you want to
make the card smaller.
Cut
two slits
Cut two slits, 1½ inches apart, perpendicular to and through the fold. When you open the card, there will be two slits bisected by the fold.
Push
out the section between the slits and fold
Push the strip of card between the slits inward, through the inside of the card. The fold in this section will be opposite the original fold. This is the pop-up mechanism.
You can make the pop-up mechanism larger,
smaller, or off-center by changing the location of the slits.
Make a Christmas tree
Cut a small Christmas tree shape out of the green paper. This can be done with a simple triangle shape with a stump, or you can get more elaborate and cut out branches.
Use a tree stencil or cut a picture from a
magazine.
Glue
the tree to pop-up mechanism
Glue the tree to the pop-up mechanism. When you open the card, the tree pops up in the middle of the card.
Add
the back piece
Glue the other piece of card stock neatly over the back of the card. This will cover the hole created by the pop-up mechanism and add sturdiness to the card.
Add
your own personal touch
Give the card your own personal touch by adding more artwork or writing a message. There are many different ways to make your card unique, so experiment and have fun.
 Fold
the cardstock
Fold
the cardstock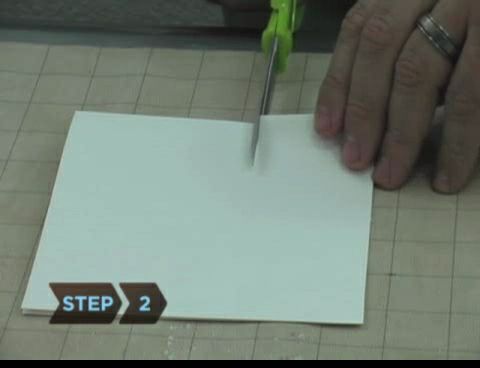 Cut
two slits
Cut
two slits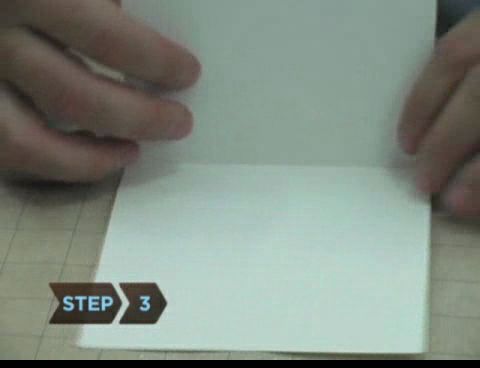 Push
out the section between the slits and fold
Push
out the section between the slits and fold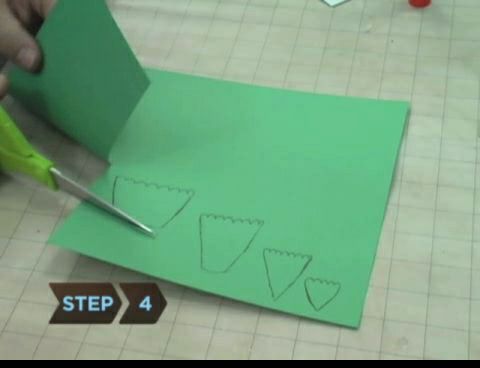 Make a Christmas tree
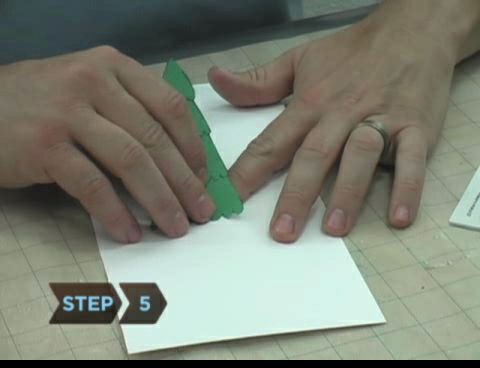 Glue
the tree to pop-up mechanism
Glue
the tree to pop-up mechanism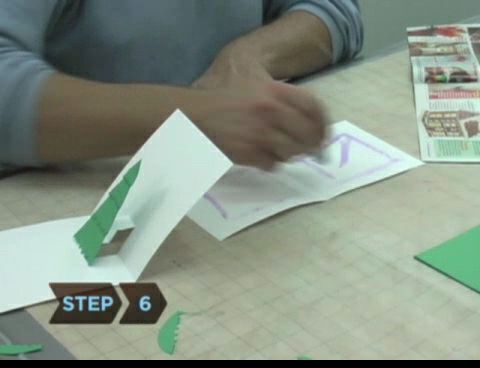 Add
the back piece
Add
the back piece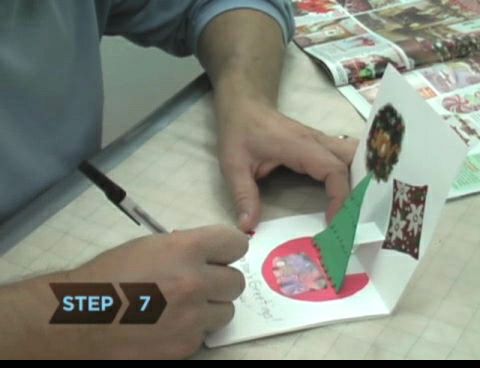 Add
your own personal touch
Add
your own personal touch