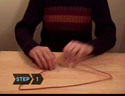
Cut out photo
Cut out the photo you want to use into a circle that measures about 3 inches across.
Remove cap
Remove the hanger and cap from the bulb. Then wrap the photo around a pencil, making sure the photo is facing outward.
Put photo inside
Holding the photo around the pencil, slip it inside the bulb. Release the photo from the pencil.
Straighten the photo
Position and straighten the photo with a cotton swab.
Fill the inside
Get creative and glue small shells, colored tinsel, colored sand, and even popcorn to the inside and outside of the ornament.
Gluing decorations inside will also help keep the photo in place.
Add date and a message
Write the date on the back of the ornament with acrylic paint, and a message if you like. Finish by tying a bow around the top of the ornament and give it as a gift to the person in the picture or hang it on your own tree.
 Cut out photo
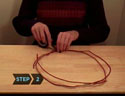 Remove cap
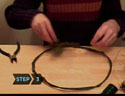 Put photo inside
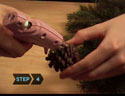 Straighten the photo
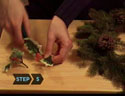 Fill the inside
 Add date and a message