A small sheet of craft foam, cut into 1-inch strips
A needle and thread
A spool of 1-inch-wide elastic
3 feet of sturdy wire
Epoxy glue
Craft foam blocks
Scissors
Pliers
Paper clay
White and red polymer clay
Primer or sealer
Black, red, and white acrylic paint
Glossy epoxy clear coat
Fake fur
A utility knife
Steps
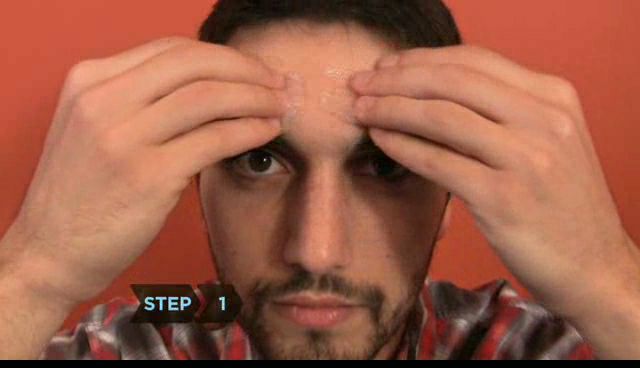
Make
the cast
Lubricate your face with a generous amount of petroleum jelly or lotion,
and protect your hair with a wig cap. Using gauze that’s been
soaked in plaster, make a cast of the top half of your face from just
above your hairline to the tip of your nose, being careful to avoid
your eyes. Construct the sides of the mask from your temples to your
cheeks. Let it dry.
Make
a cast of your chin
Make a plaster cast of your chin and jaw from the bottom of one ear
to the other and extending an inch under the chin.
Create
the headband
Hot glue strips of craft foam to the inside of the mask on the head
and forehead. Sew the elastic into a band that fixes around your head
horizontally. Sew another piece vertically from the center of your forehead,
to the back of your head. Hot glue the elastic to the mask making sure
not to cover the eyeholes.
Frame
the snout
Frame the snout. Bend a piece of wire into a narrow U-shape, leaving
a few extra inches at the ends. Use epoxy glue to fasten the ends of
the wire to the outside of the cheeks so the wire snout juts out under
the nose of the cast.
Sculpt
the snout
Hot glue a block of foam to the top side of the wire running from the
tip of the snout to the plaster mask. Use scissors to trim the foam
into a rough snout. Bend a second piece of wire into a U, leaving 7
inches of extra wire at each end. Epoxy it to the outside of the chin
cast so that the extra wire continues several inches past the plaster.
Create
the jaw
Glue foam to the underside of the wire attached to the chin cast and
trim it into a rough jaw.
Attach
the jaw
Bend the extra wire with pliers, and epoxy the wire pieces from the
chin to either side of the face so the jaw attaches to the face-mask
and matches up with the snout. Then, sculpt a more refined snout over
the foam with paper clay, blending it into the plaster face. Sculpt
over the jaw with paper clay and let it dry.
Frame
and sculpt the ears
Create two wire frames for the ears and epoxy them to the top of the
head. Wrap plaster gauze around the ear frames to form rough ears. Let
the plaster dry, and then sculpt paper clay around the plaster and wire
to refine the ears.
Apply
finishing touches
Use the paper clay to sculpt details like nostrils, an angry brow, a
lip line, and a tongue.
Create
teeth
Using small chunks of white polymer clay, create teeth and fangs for
the upper and lower jaw. Line up teeth and surround each group with
a thin strip of red polymer clay to create gums. Bake the polymer clay
according to the package directions. Then, glue the teeth into place.
Prime
and paint
Prime or seal the mask inside and out. Paint the face and ears the color
of your fur, and the tongue red. Then, finish the teeth and nose with
a glossy clear coat.
Cut
out the fur
Cut strips of fake fur to match the contours of the mask.
To cut the fake fur, place it facedown on a hard surface and use a utility
knife.
To cut the fake fur, place it facedown on a hard
surface and use a utility knife.
Attach
the fur
Hot glue the fur into place. It should hang just past the bottom of
your neck. Trim so that it’s shorter in the front and blends into
longer hair in the back. The head’s complete! Now watch “How
to Make A Werewolf Costume: Part 2” to finish the look.
 Make
the cast
Make
the cast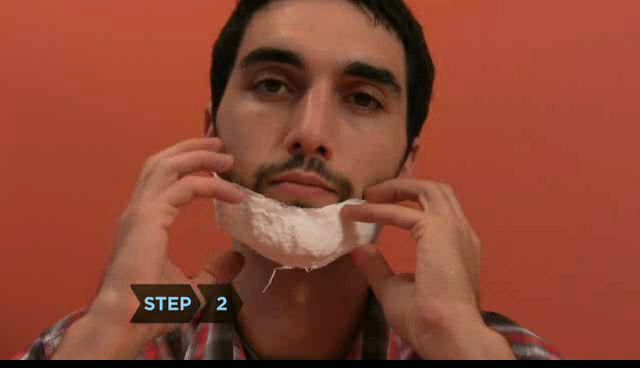 Make
a cast of your chin
Make
a cast of your chin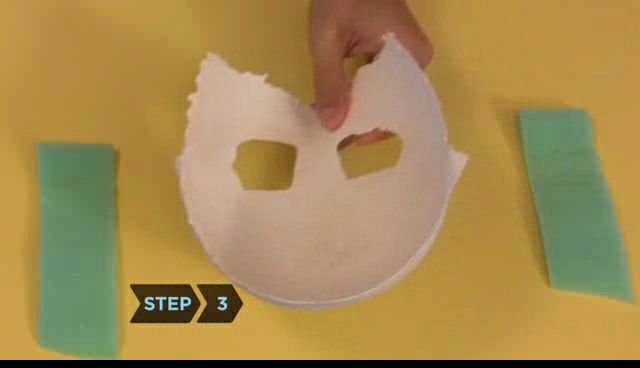 Create
the headband
Create
the headband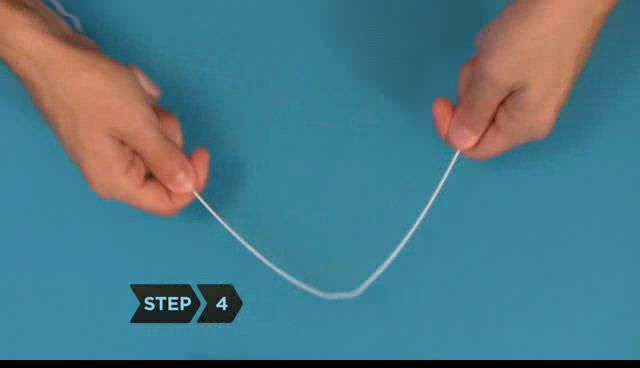 Frame
the snout
Frame
the snout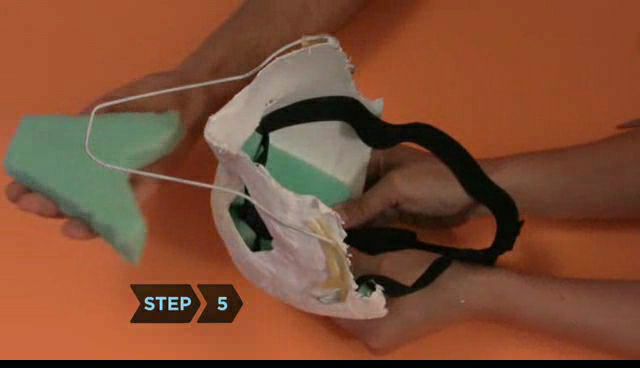 Sculpt
the snout
Sculpt
the snout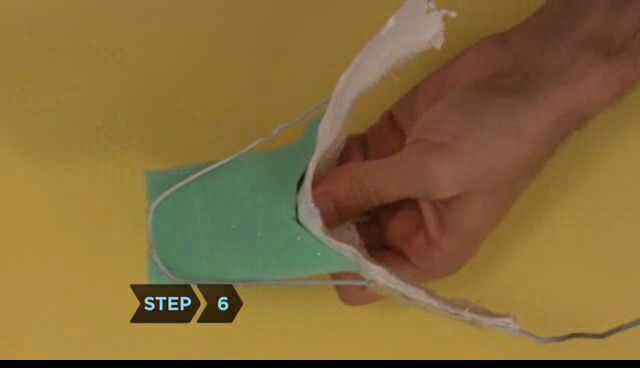 Create
the jaw
Create
the jaw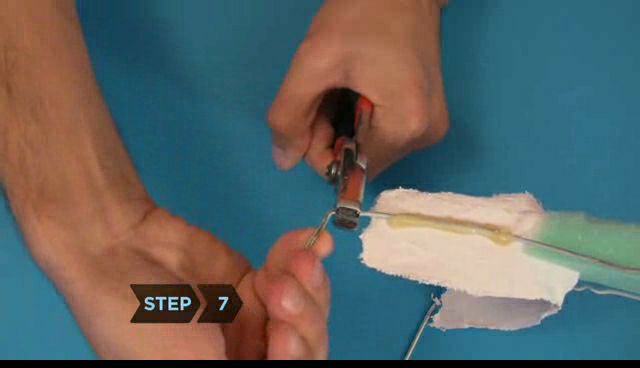 Attach
the jaw
Attach
the jaw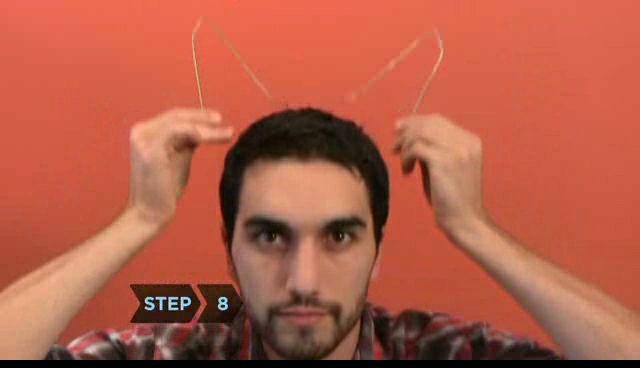 Frame
and sculpt the ears
Frame
and sculpt the ears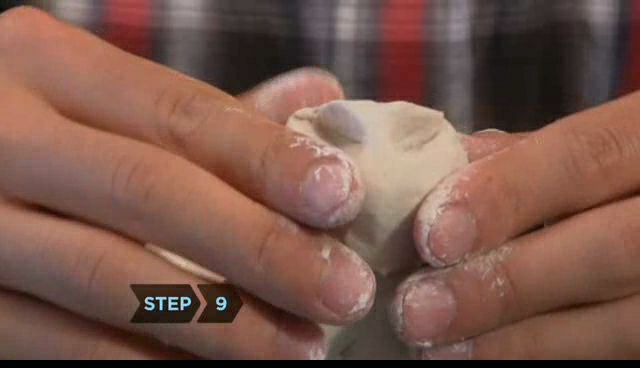 Apply
finishing touches
Apply
finishing touches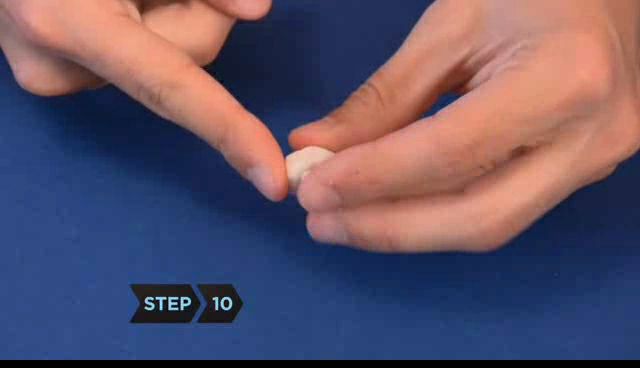 Create
teeth
Create
teeth Prime
and paint
Prime
and paint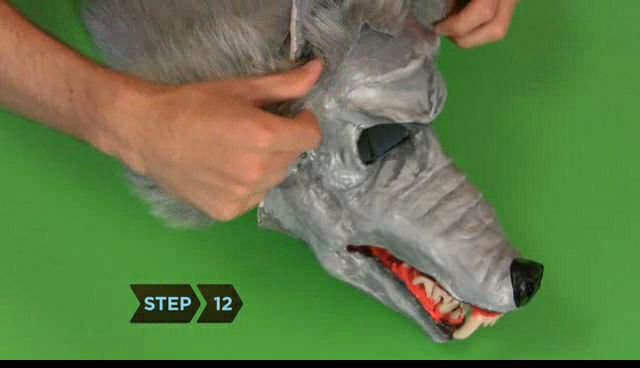 Cut
out the fur
Cut
out the fur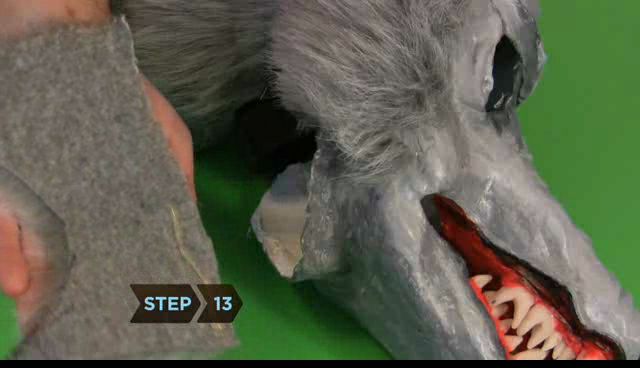 Attach
the fur
Attach
the fur