How To Make a Where the Wild
Things Are Children's Halloween Costume
You Will
Need
1½ yards of 72" wide white fleece
Marking chalk
Scissors
Straight pins
A sewing needle and a sewing machine
1½-inch white polyester thread
½ yard white Velcro
A tape measure
Bright yellow cotton fabric
Polyester stuffing
A foot of ¼-inch elastic
1/3-yard imitation fur
Gold foil card stock
White glue
Paperclips
Gray pipe cleaners
4 1½-inch coverable buttons
An 18-inch dowel or stick
Silver spray or acrylic paint
A 3-inch Styrofoam ball
Aluminum foil
A fake jewel about 1 inch in size
Steps
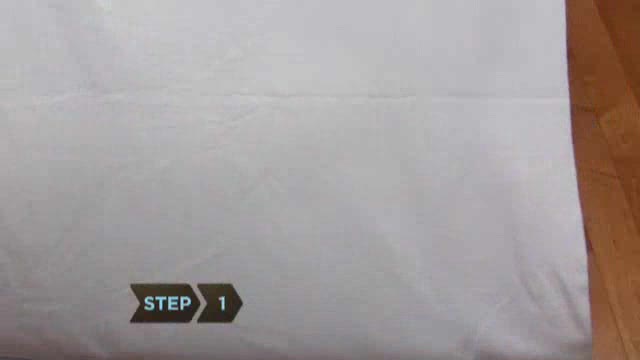
Measure
the bodysuit
Lay the fleece on the ground and have your child lay down on one side
of it, leaving a bit of space between their arms and legs. Draw their
outline with marking chalk from their neck to their toes, leaving a
1½-inch border around their shape.
Cut and sew the fabric
Fold the material over in half, cut out the outline, and pin and sew
the two pieces together everywhere except at the wrists, ankles, and
neck.
Use a zigzag stitch anywhere the material may
stretch.
Make a V-neckline
Cut out a semicircle for the neck on one side only. From the middle
of the semicircle, cut an 8-inch slit toward the belly button; then
sew a 1- by 9-inch strip of fleece onto the left-hand side of the
slit to create a flap.
Add
Velcro strips
Sew an 8-inch Velcro strip onto the outside of the fleece flap and
a matching strip on the inside of the right side of the slit; this
creates a closure for the front of the suit.
Make
the hood
Have the child try on the costume so you can measure for a hood: Measure
from their mid-forehead to the costume’s back collar, adding
1 inch. Next, measure around the edge of the collar, adding 1 inch.
Finally, measure from one side of the collar to the crown of the head.
Cut fleece material using these measurements, try it on your child’s
head, and trim as needed. Sew it onto the costume, hemming around
the front edge.
Make
mitts
Make the mitts: Trace the child’s hands onto pieces of fleece
from 2 inches past the wrist up to the first knuckle, leaving a ½-inch
border. Lay the patterns over another piece of fleece, cut, and hem
the edges.as needed. Sew it onto the costume, hemming around the front
edge.
The mitts should look like flaps, so that the
child’s hands and fingers are free.
Create
claws
Draw claws on a folded 4-inch-wide strip of yellow fabric. Sew along
the guides, leaving an opening between the flaps. Trim the outside,
leaving a ¼-inch border. Turn them right-side out and stuff with
polyester. Create thumb claws the same way.
Attach
the claws
Attach the claws to the mitts using a hand stitch. Sew elastic across
the wrist, thumbs, and first knuckles. Then, sew a piece of elastic
across the palm of the claws to keep them in place over your child’s
hands. Sew the mitts to the rest of the costume, hemming around the
wrists.
Create
feet
Hem the ankles. Drape a piece of fleece over your child’s shoe
from toe to ankle and cut out the shape. Then, use this prototype to
cut out another foot covering. Cut out a circle to go around the ankle,
and hem around the edges. Attach Velcro tabs to close the back of the
heels.
Make
foot claws
Make foot claws the same way you made hand claws. Sew a band of elastic
to each foot flap so they can be secured under the arch of the foot.
Create
a tail
Create a tail by sewing together the two long edges of a 3-inch strip
of fur. Sew the tail onto the costume.
Create
a tail
Create a tail by sewing together the two long edges of a 3-inch strip
of fur. Sew the tail onto the costume.
Make
a crown
Measure the circumference of your child’s head with the hood on,
and add 1 inch. Using these measurements, draw and cut a crown from
the gold foil card stock. Sew or glue three 1-inch Velcro squares to
the inside of the crown. Glue the ends of the crown together, using
a clip to hold together until dry.
Add
some fur
Cut a 2-inch-wide strip of fur the same length as the crown circumference.
Sew the fur to the base of the crown.
Add
the finishing touches
Add three Velcro strips to the hood that correspond to the Velcro strips
on the crown. Attach pipe-cleaner whiskers to the edges of the hood.
Cover four buttons with fleece fabric, and sew them to the front of
the costume.
Make
the scepter
Paint the dowel with silver spray or acrylic paint. Cover the Styrofoam
ball with aluminum foil and insert the painted dowel at the base of
the ball. Wrap a ½-inch strip of gold foil around the fattest
part of the ball; attach it with white glue and secure with pins until
dry. Cover the top of the scepter with a jewel. Done!
 Measure
the bodysuit
Measure
the bodysuit Cut and sew the fabric
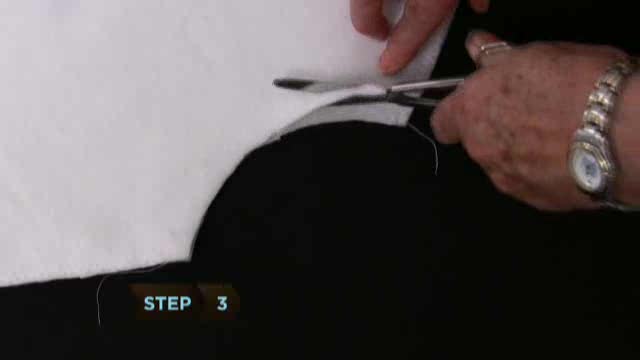 Make a V-neckline
 Add
Velcro strips
Add
Velcro strips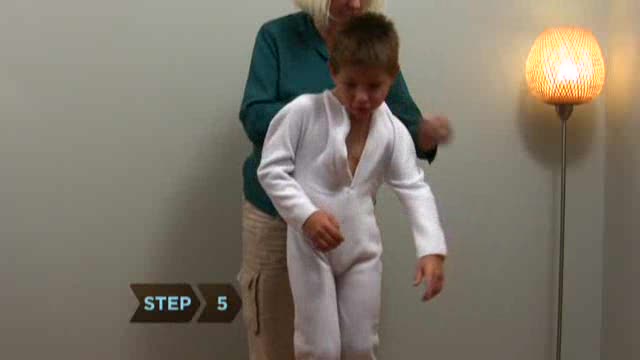 Make
the hood
Make
the hood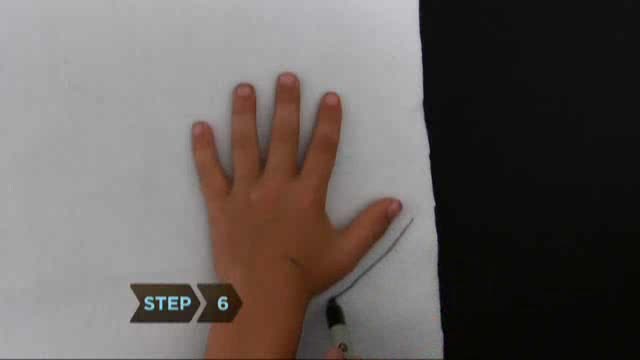 Make
mitts
Make
mitts Create
claws
Create
claws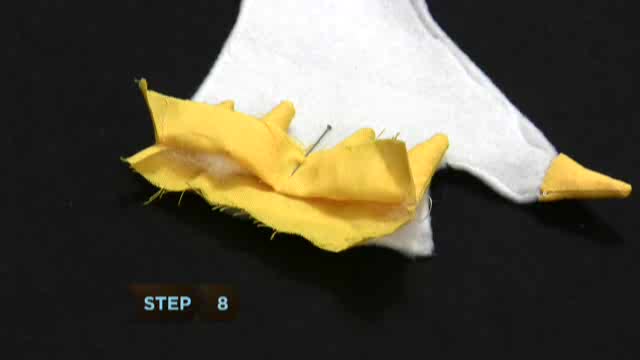 Attach
the claws
Attach
the claws Create
feet
Create
feet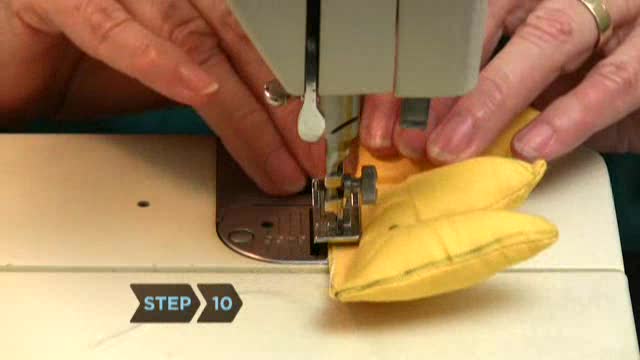 Make
foot claws
Make
foot claws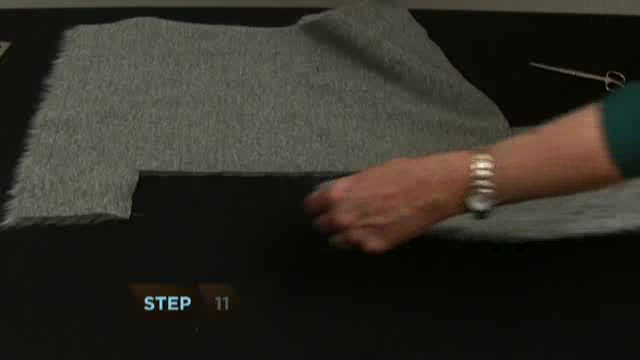 Create
a tail
Create
a tail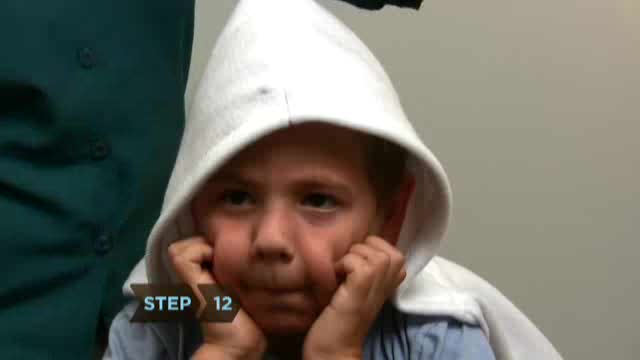 Create
a tail
Create
a tail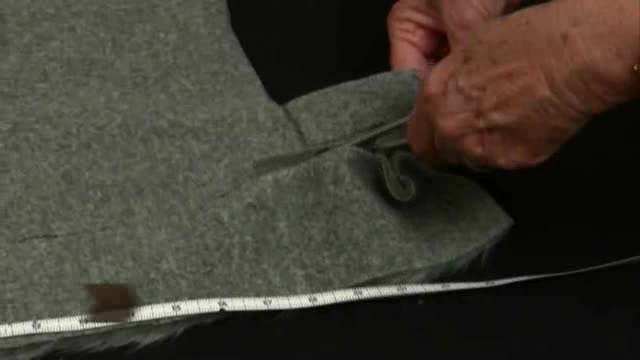 Make
a crown
Make
a crown Add
some fur
Add
some fur Add
the finishing touches
Add
the finishing touches Make
the scepter
Make
the scepter