And some kite string or another sturdy string, like twine
Some crayons or markers (optional)
Steps
Fold
paper
Fold the paper in half so the shorter sides meet. Set the paper on your work surface so that the fold is at the bottom.
If you want a fancier kite, use crayons or
markers to decorate the paper before you fold it.
Measure
& mark
Use your ruler to measure 2 ½ inches from one end of the folded edge and put a pencil mark there.
Measure
& mark again
Measure another 2 ½ inches from the first mark and put another pencil mark there.
Bend one layer
Taking the top corner nearest to the first mark, bend down one layer of the paper to the folded edge where you made the first mark. But dont crease it.
Bend other layer
Holding the folded-down corner in place, pick up the paper and bend the other top layer down in the opposite direction so that its even with the first corner.
Staple
corners
Staple the folded corners in place.
Punch
hole
Punch a hole where you made the second mark.
Loop
string & knot
Loop one end of your kite string through the hole and knot it tightly.As soon as a good breeze kicks up, your kite will be ready to take off!
 Fold
paper
Fold
paper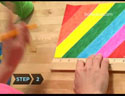 Measure
& mark
Measure
& mark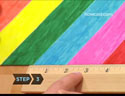 Measure
& mark again
Measure
& mark again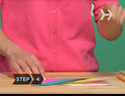 Bend one layer
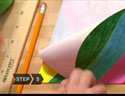 Bend other layer
 Staple
corners
Staple
corners Punch
hole
Punch
hole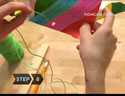 Loop
string & knot
Loop
string & knot